NOA Edge
Walkthrough
- Open NOA in a browser on your PC
Enter the URL http://<ip>:8512/; use service and kebadmin as username and password to sign in
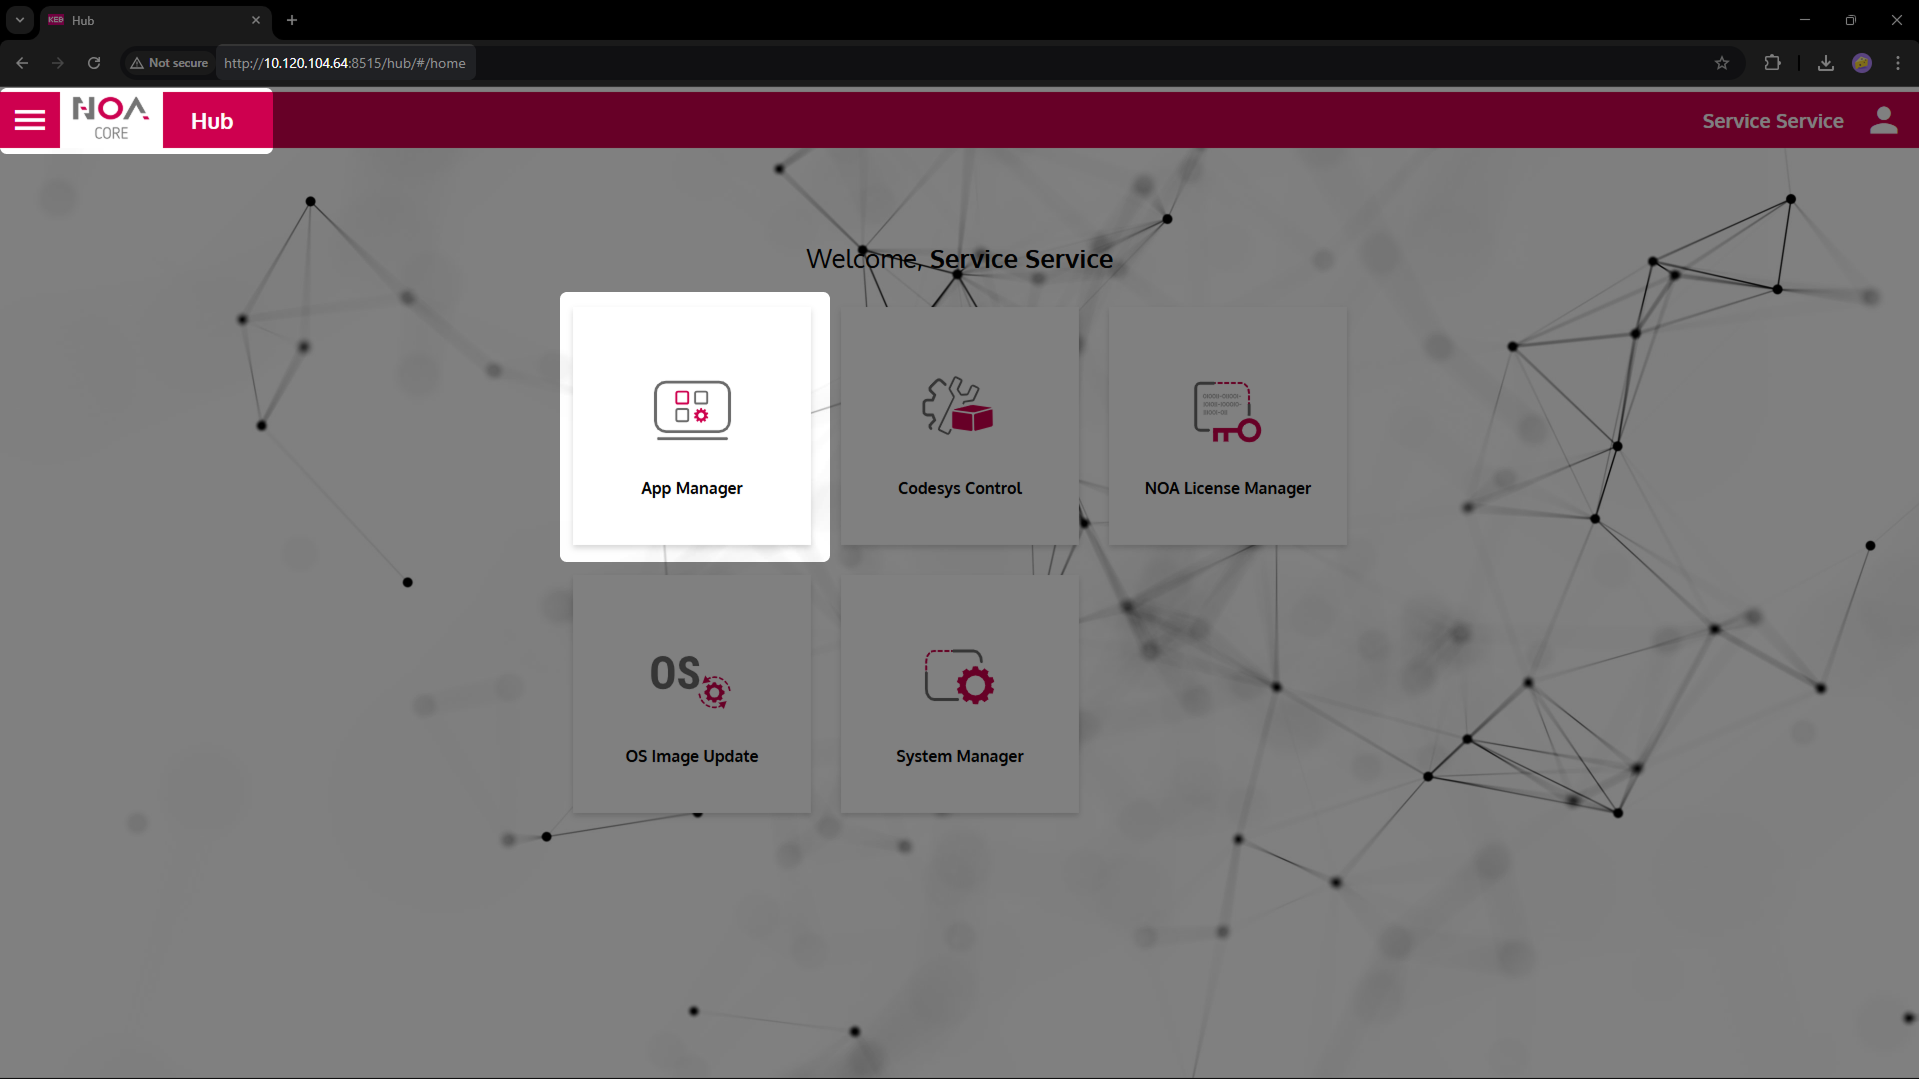
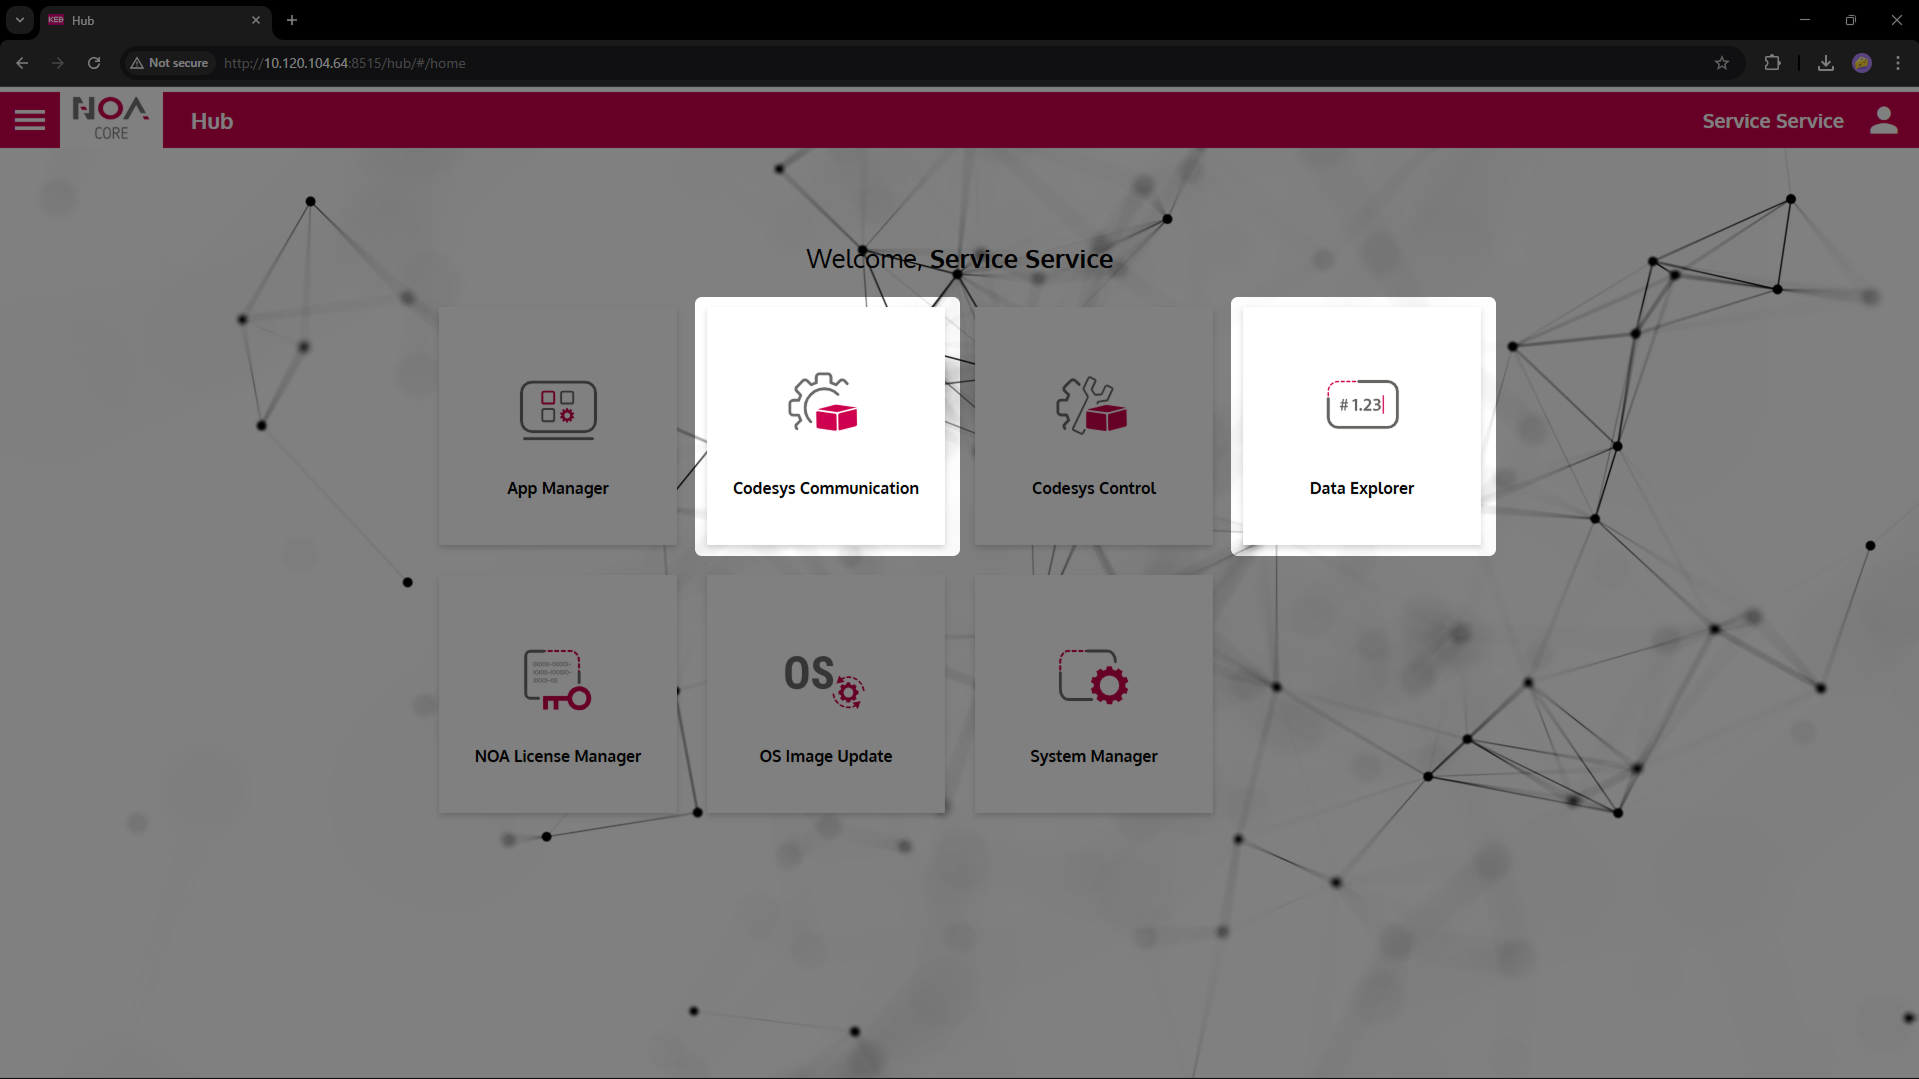
The Welcome Page (aka Hub) shows the available NOA Apps (see NOA Core) as tiles. Click on a tile to open the corresponding app, e.g. "App Manager".
- Open the App Manager
The App Manager is used to administer the installed apps.
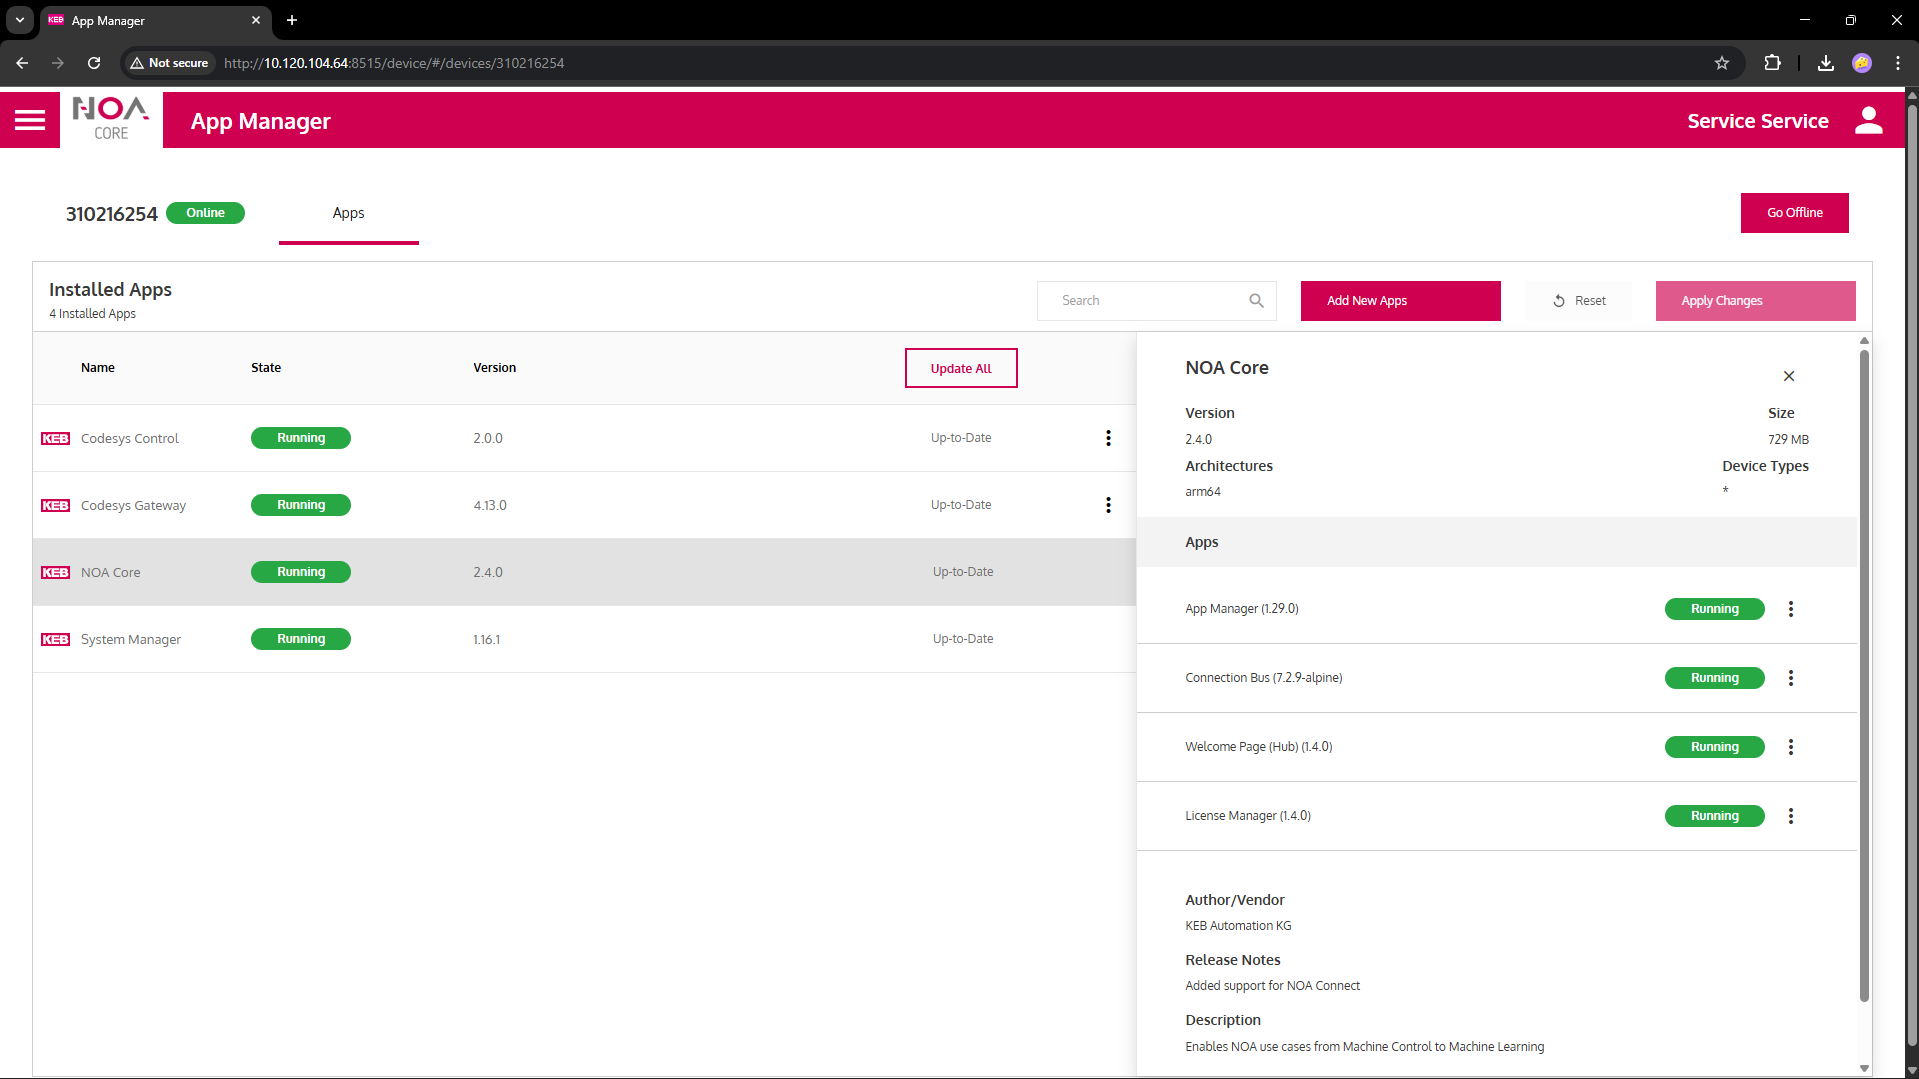
It is good practice to apply any pending updates. This prevents security risks and provides the latest features.
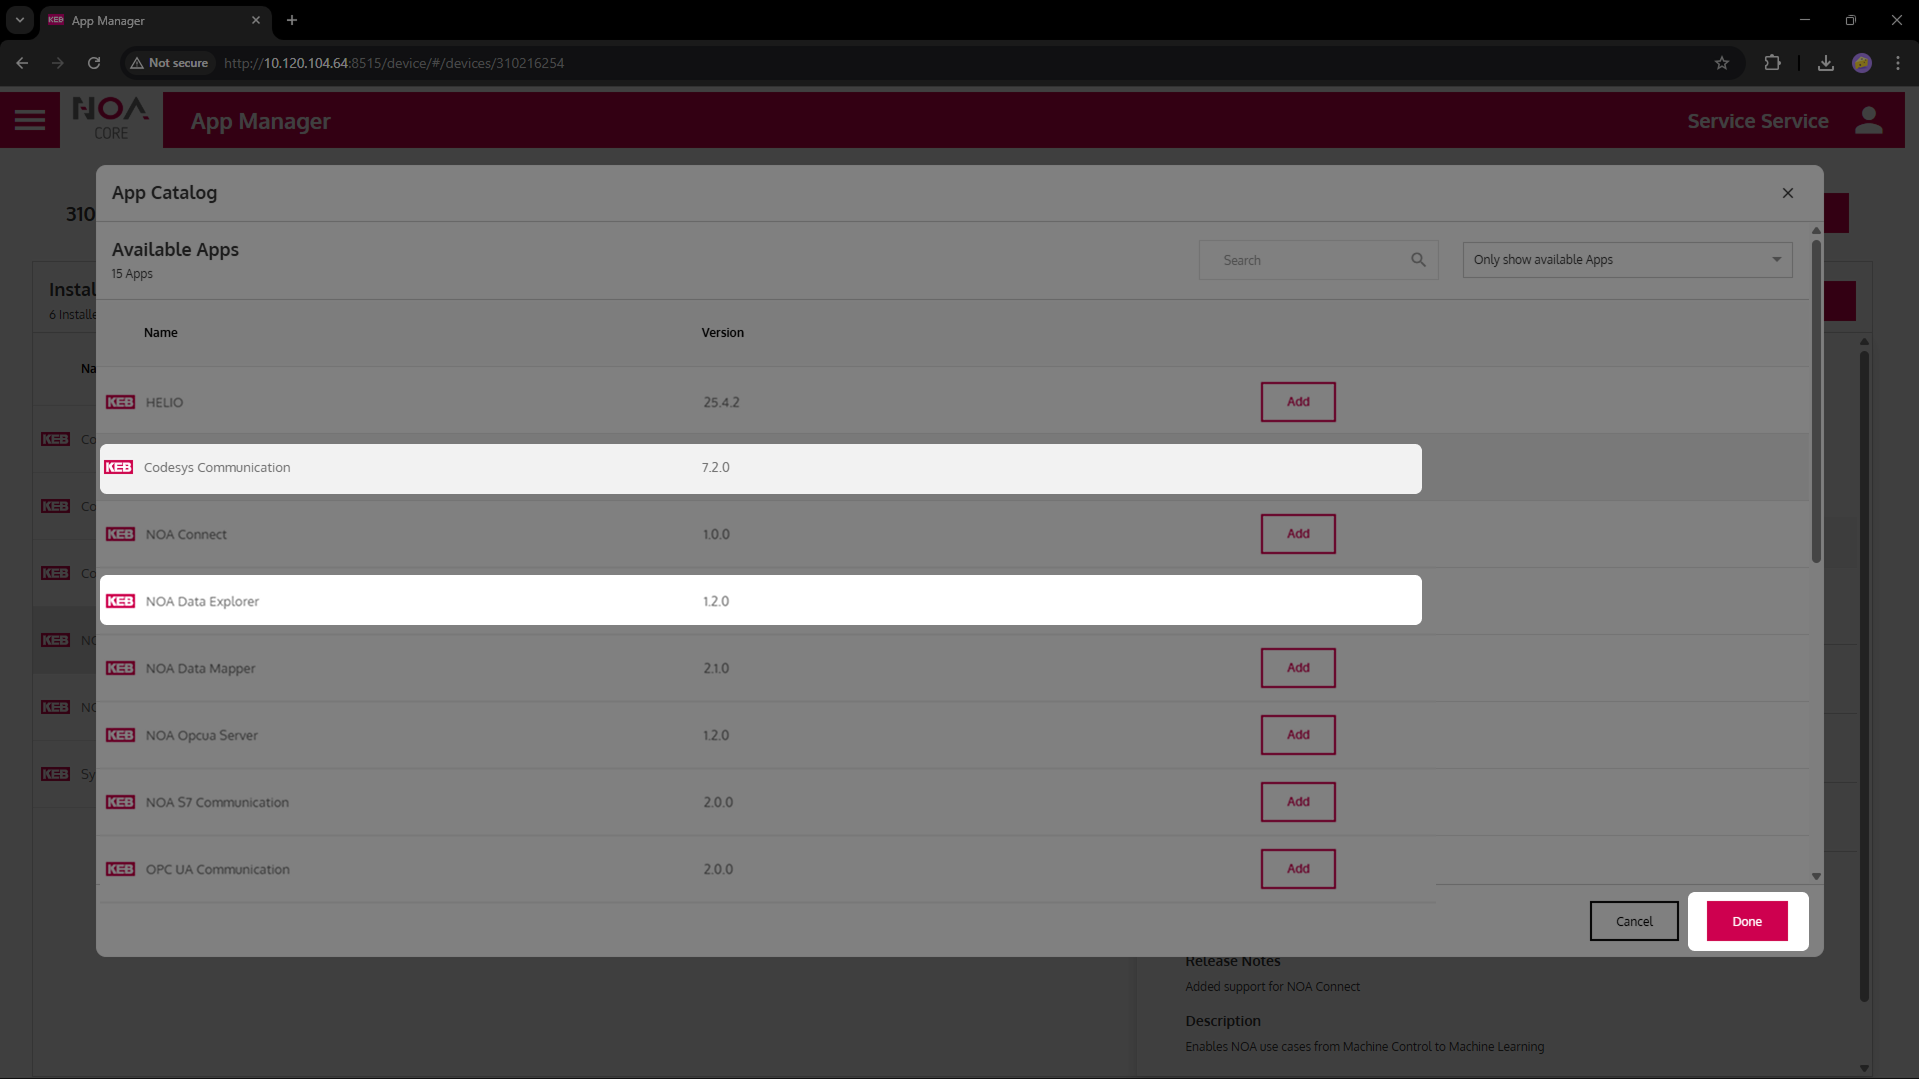
- Install additonal apps
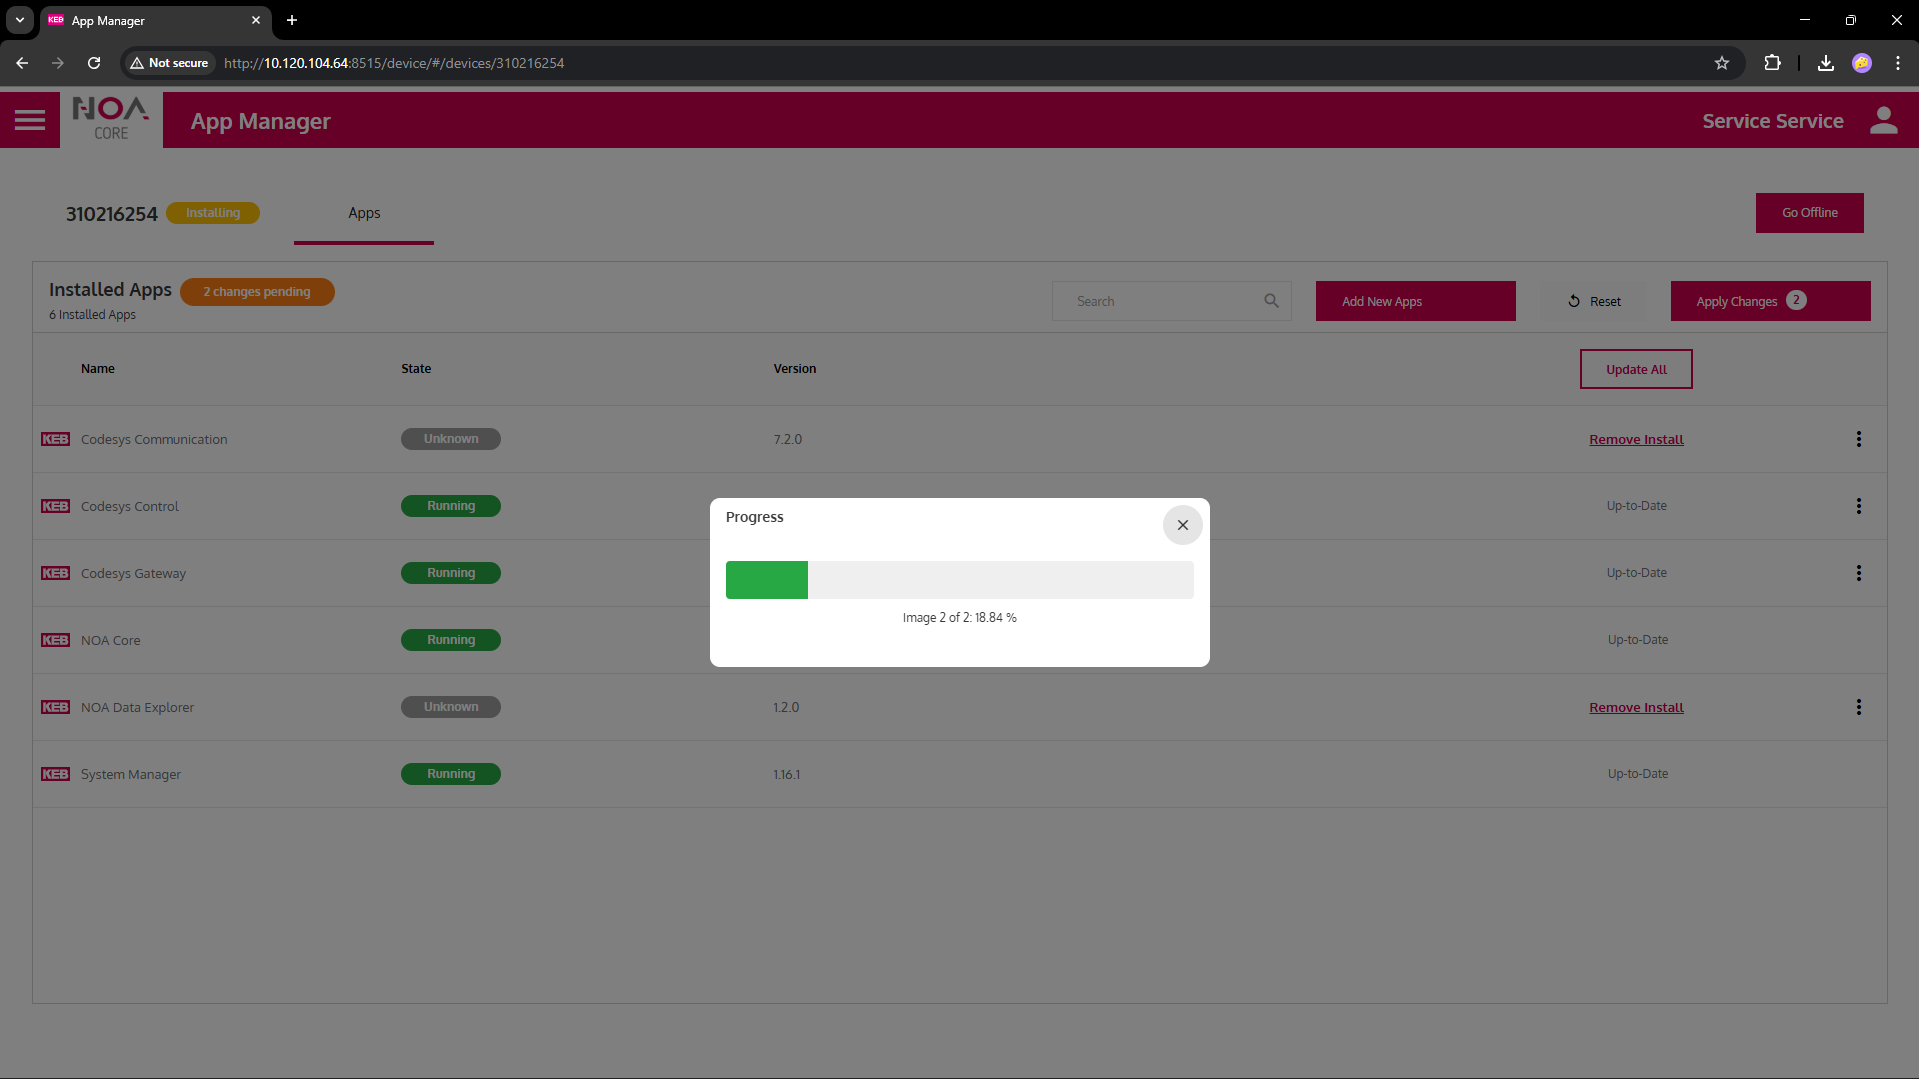
Click "Add New Apps" and "Add" the apps Codesys Communication and Data Explorer. Confim the dialog and "Apply Changes". Installation over the air (OTA) may take a while.
- Go back to the Welcome Page (Hub)
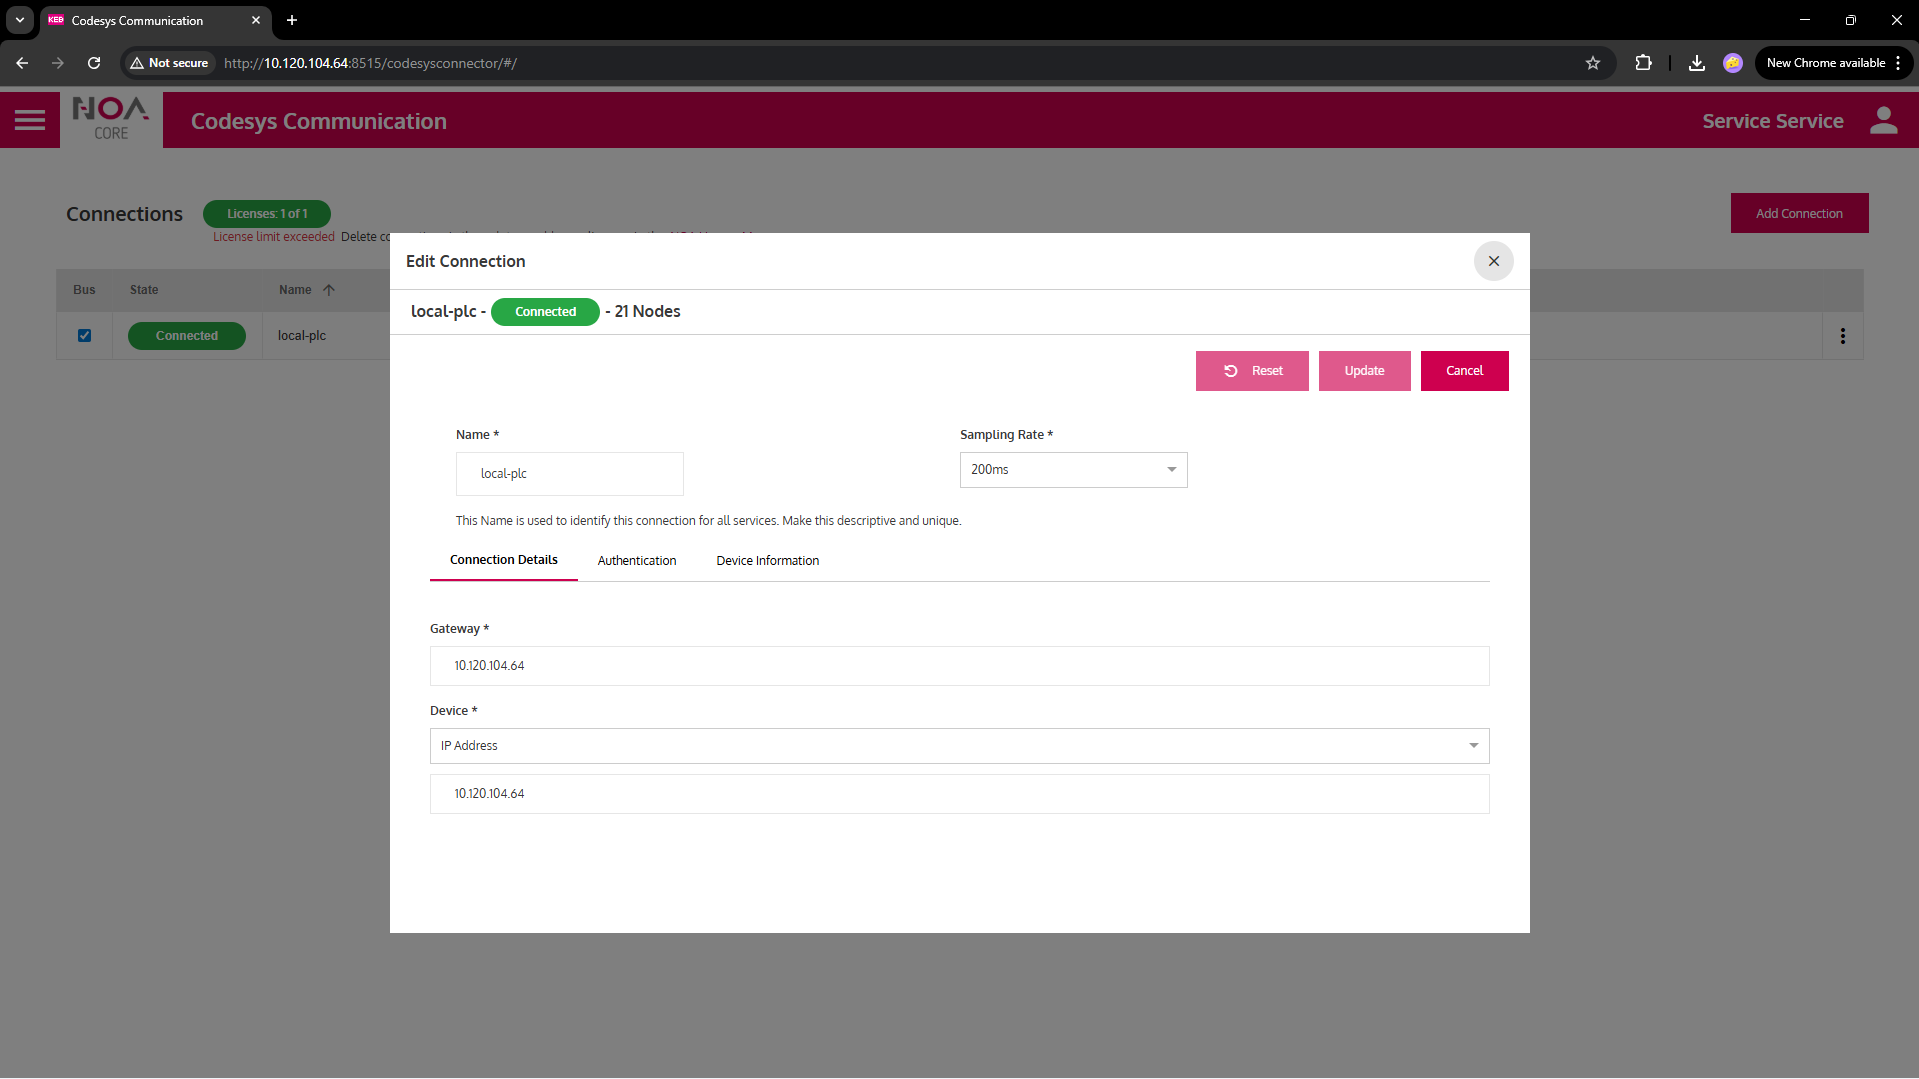
- Configure the Codesys connection.
Open Codesys Communication (click on the tile).
Click "Add" to create the connection, fill in the details: a unique name, e.g. local-plc; Use <ip> for "Gateway" and "Device".
On the tab "Autentication": specify the username and password that you set for Codesys. Press "Add" to confirm.
Wait for the status to change to "Connected" (green). The connection shows the number of nodes found.
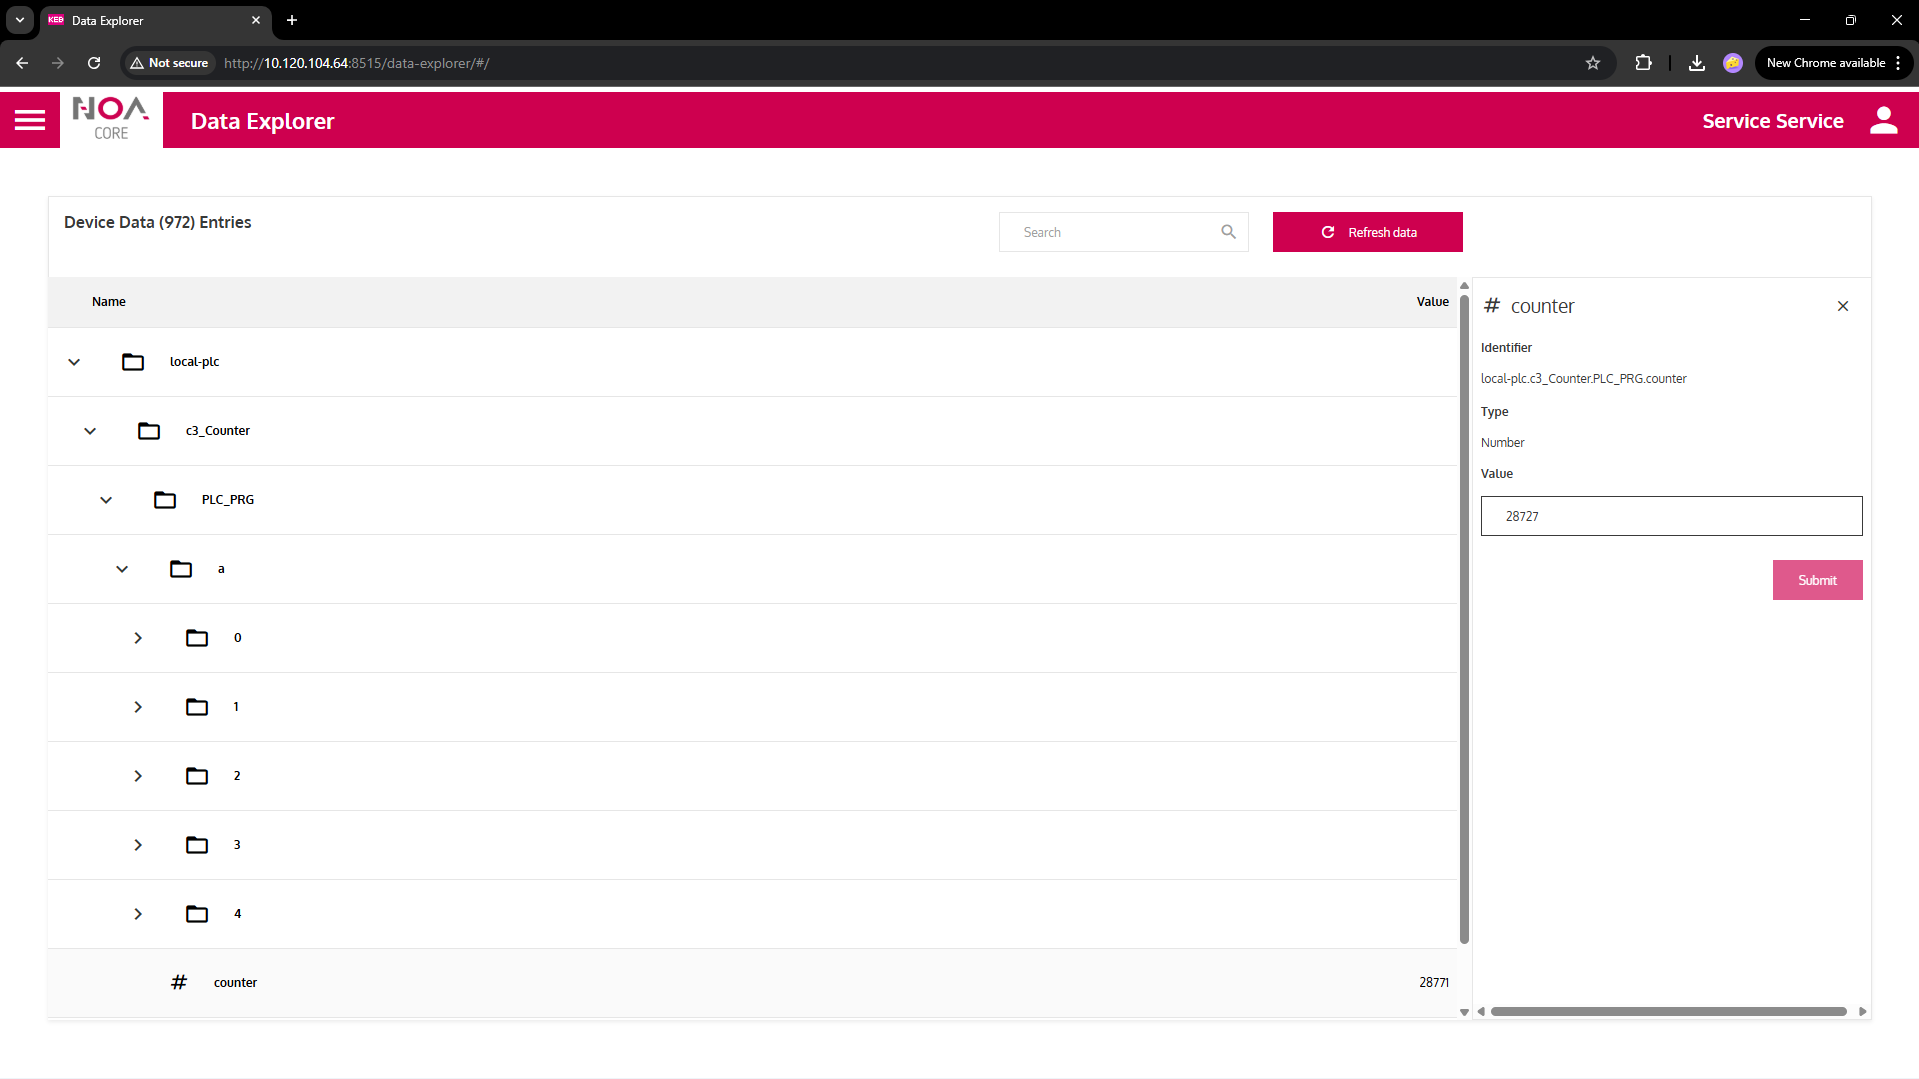
- Inspect the variables on the NOA Bus
Switch to the Data Explorer (via the Hub).
You see all the data on the NOA Bus with values in the tree reflecting the live state of the variables in the PLC. You can also set values (if the PLC permits)
- The C6C3 was set up as a controller before (see C6C3 as Controller).
- Now its PLC data is available on the NOA Bus. Other apps can access this data.
- The Data Explorer shows the available variables and their values. This may be usefule e.g. during commissioning.
Now continue the Quick Tour
- Transfer data to the cloud: First Steps in NOA Portal
- Create an HMI: HELIO for HMI development
Extend NOA on the Edge
There is much more that a NOA edge device may do, e.g.
- Host HELIO as HMI runtime
- Store and analyse local data from the machine for Condition Monitoring
- Get data from other sources e.g., via OPC UA Communication.